
Vacancy Management
1. Creating a new vacancy
2. Creation and Enrichment of a new Vacancy
3. Application Summary
4. Post-Processing and setting a Vacancy to inactive
5. Overviews and Chart options
Vacancy Management
You can create a new Vacancy and use the business flow designed by xRM1 to take it through meaningful stages. Navigate Main Menu > HR > Vacancies.
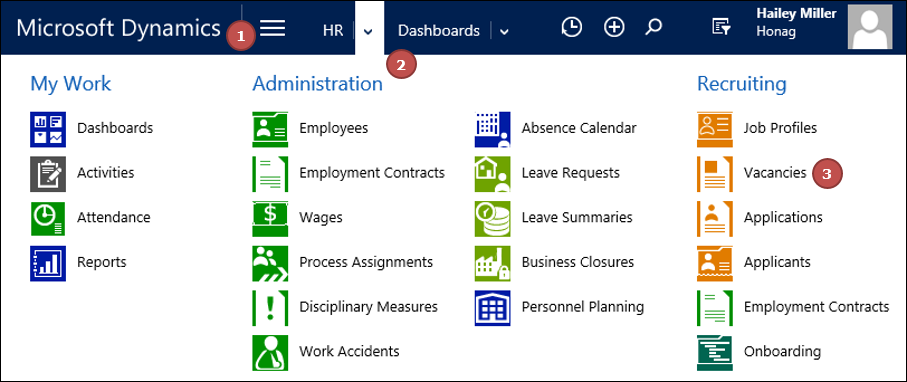
1. Creating a new vacancy
Click on +NEW

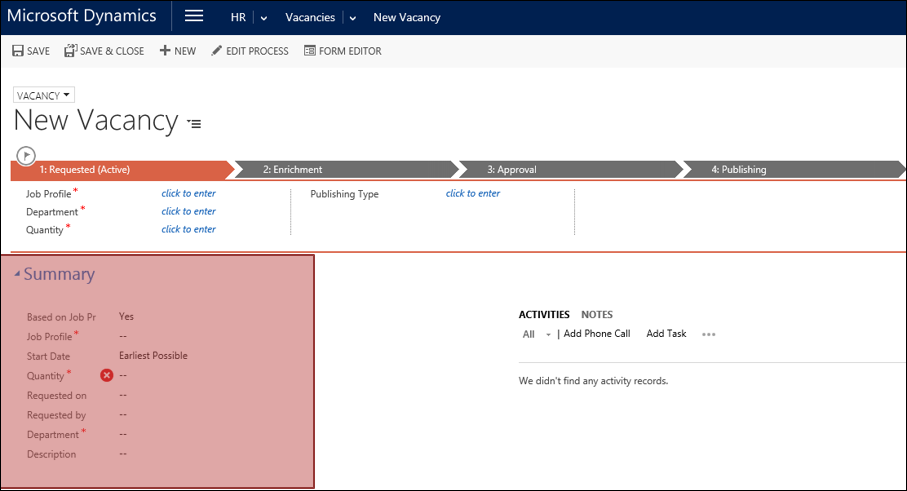
2. Creation and Enrichment of a new Vacancy
Each of the different stages in the business process captures information related to the phase at which the new Vacancy is in.
Start by capturing the following information,
Based on Job Profile: Select Yes to base the Vacancy on a Job Profile or No to create from scratch
Job Profile: This field is look-up to the predefined Job Profiles. The field hides, if the selection was No
Department: Choose from the available Departments from this look-up field
Quantity: Enter the positions open as a whole number
Save the page to continue working.
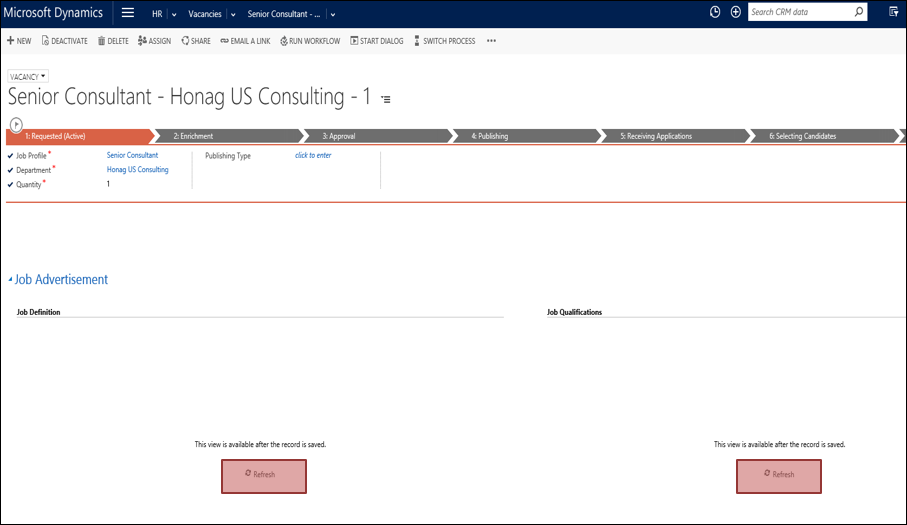
2.1 Managing Job Description
Refresh Job Definition and Job Qualification to load the text stored in the Job Profile. If the Vacancy does not base on a Job Profile, refresh and create new Job Definition and Qualifications.
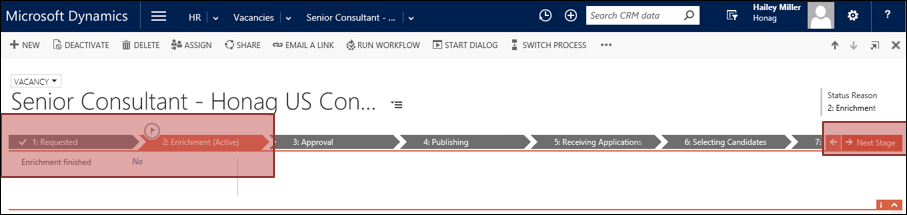
You can now move the Vacancy through various stages by clicking on Next Stage. You will notice that the flag moves from one stage to the next and the current stage highlights (Orange in this version of CRM). Move it to the second stage and update whether all the necessary information is available.
2.2 Approval of a newly created Vacancy
Approved by: This field is a look-up to CRM System Users
You can update the User who approved the Vacancy before you publish the Vacancy via internal and external Recruiting channels. Tip: Using simple workflows, you can make the user receive the draft for approval. An email notification with the direct link to the Vacancy for approval is possible.

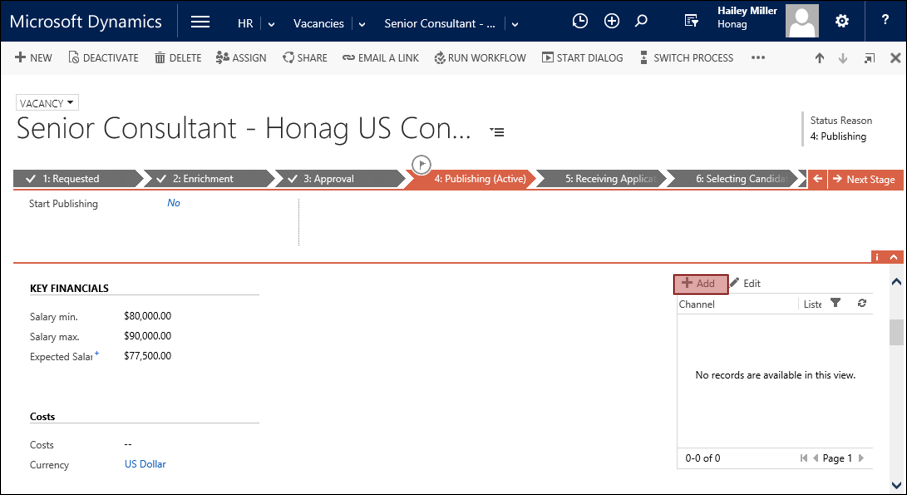
2.3 Publishing to Recruiting Channels
Click on +Add to list the channels
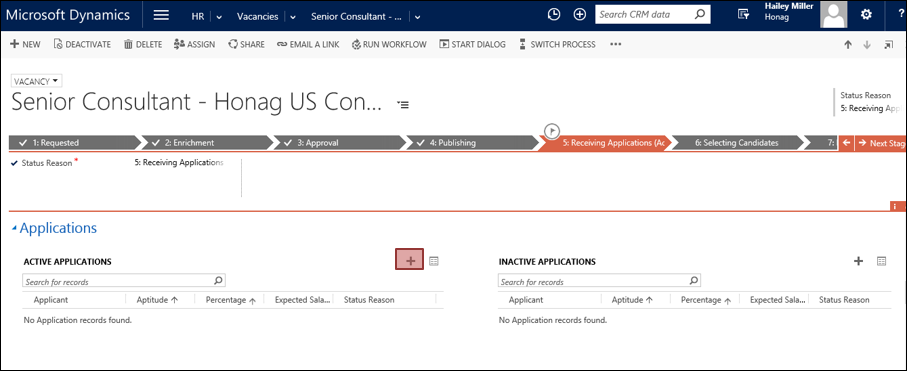
2.4 Receiving Applications
In this stage, you can start linking job applications to the vacancy. You can create job applications right out of a Vacancy form or directly from the entity Application.
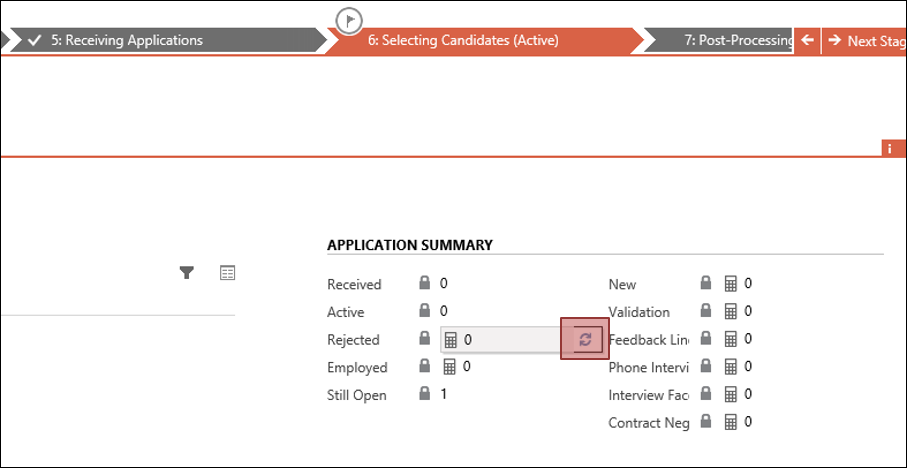
3. Application Summary
The fields seen under Application Summary are calculated and Rollup fields. This means during the Application and candidate selection process, you can keep track on how well the vacancy is performing by simply refreshing the fields to recalculate.
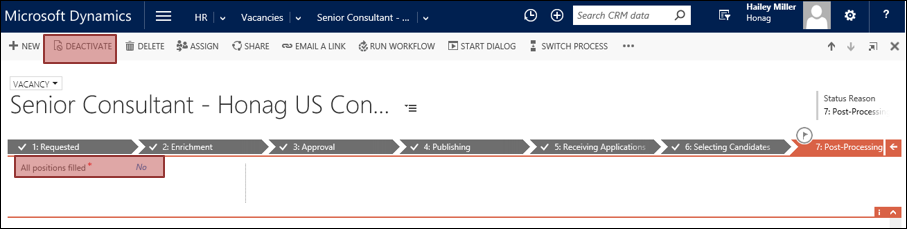
4. Post-Processing and setting a Vacancy to inactive
The process ends in this stage. You can update the field All positions filled to Yes/No to keep the Vacancy still open or to close it. Additonally, you can set the Vacancy to inactive, if the position is put hold or when all the open positions are filled.
The available options when you Deactivate a vacacy are Hired, Replaced, Canceled, Duplicate.
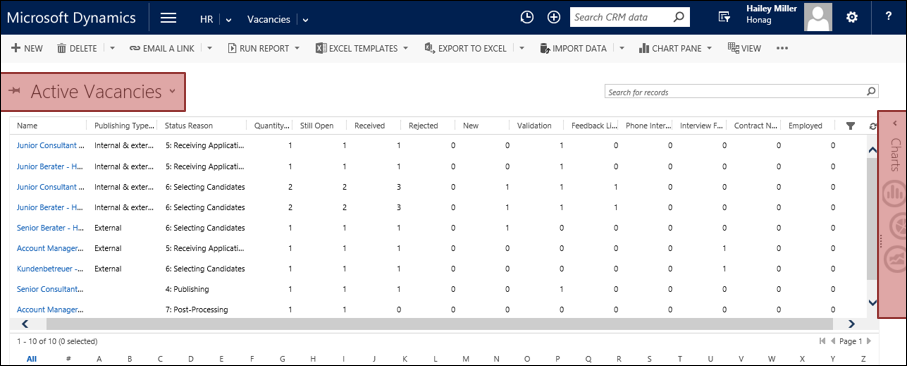
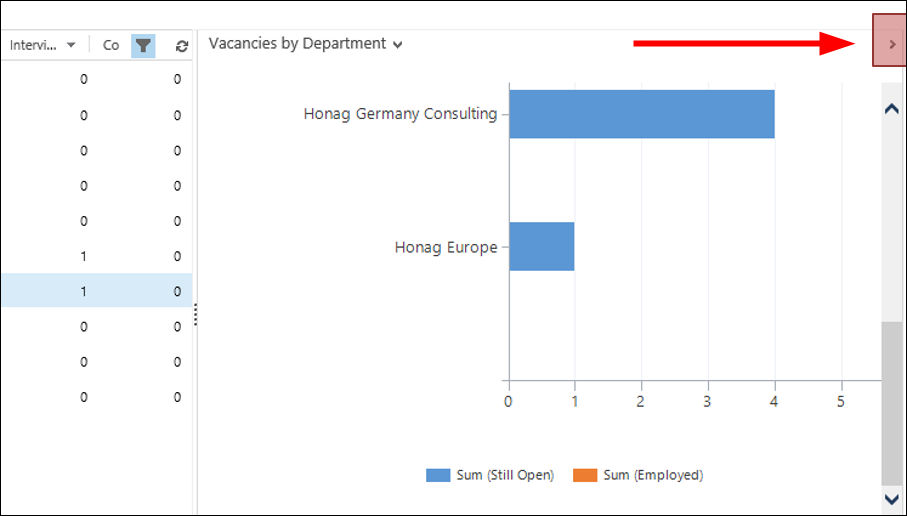
5. Overviews and Chart options
You can get important information at an easy glance on all Active or Inactive Vacancies by navigating to Main Menu > HR >Vacancies. You can also switch views to check the performance of Vacancies from the past in Inactive Vacancies view. Additionally, expand the Charts pane to view Department wise Vacancy data in a graphical representation.
Tip:
- Demo Access Contact us